How Does the Xero Integration Benefit You?
The Eventwise-Xero integration simplifies financial management by automatically syncing invoices and credit notes from Eventwise to your Xero account. This means your records stay accurate and up to date without manual data entry.
Because many event payments are received in advance, you can choose to store them in a designated pre-sales account within Xero. Once the event takes place, Eventwise will automatically transfer these amounts (excluding taxes) to your final sales account, ensuring a smooth and accurate financial workflow.
Additionally, when an invoice created by Eventwise is fully paid and reconciled in Xero, any linked transactions or activities in Eventwise will be validated automatically—saving you time and effort.
You can also leverage Xero’s custom tracking categories to organise and report on your financial data in a way that suits your business needs.
Key Benefits of the Integration:
✅ Automates invoice and credit note syncing
✅ Reduces time spent on payment reconciliation
✅ Gives a clear view of pre-paid event funds
✅ Helps track and manage tax obligations easily
✅ Allows flexible reporting with custom tracking categories
With this integration, you can focus more on running great events while Eventwise and Xero handle the financial details. 🚀

To connect your Xero account to Eventwise, follow these steps:
1. Access Your Organisation Dashboard: Log in to Eventwise and navigate to your organisation’s dashboard.
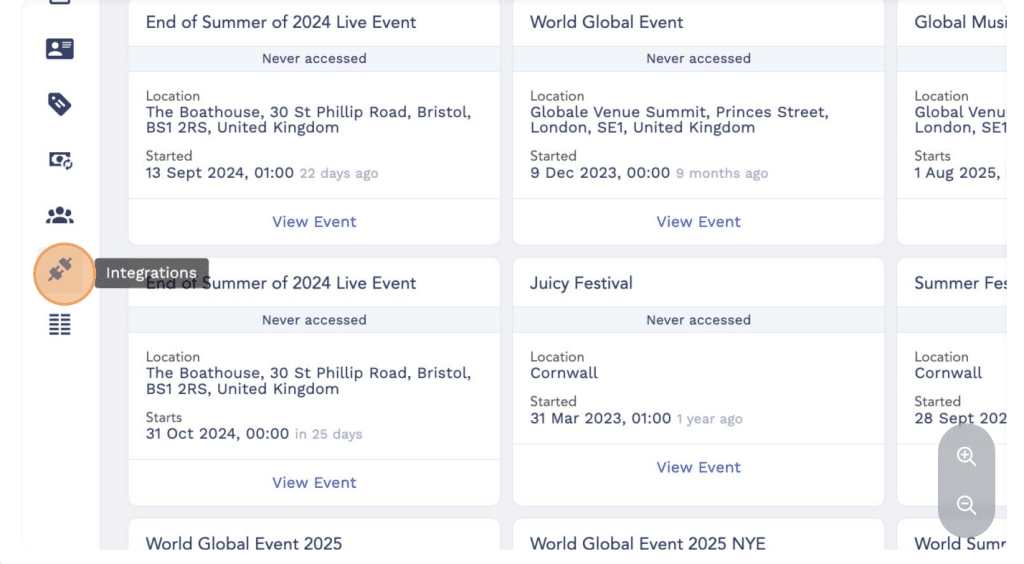
2. Go to Integrations: Within the dashboard, click on the “Integrations” section.
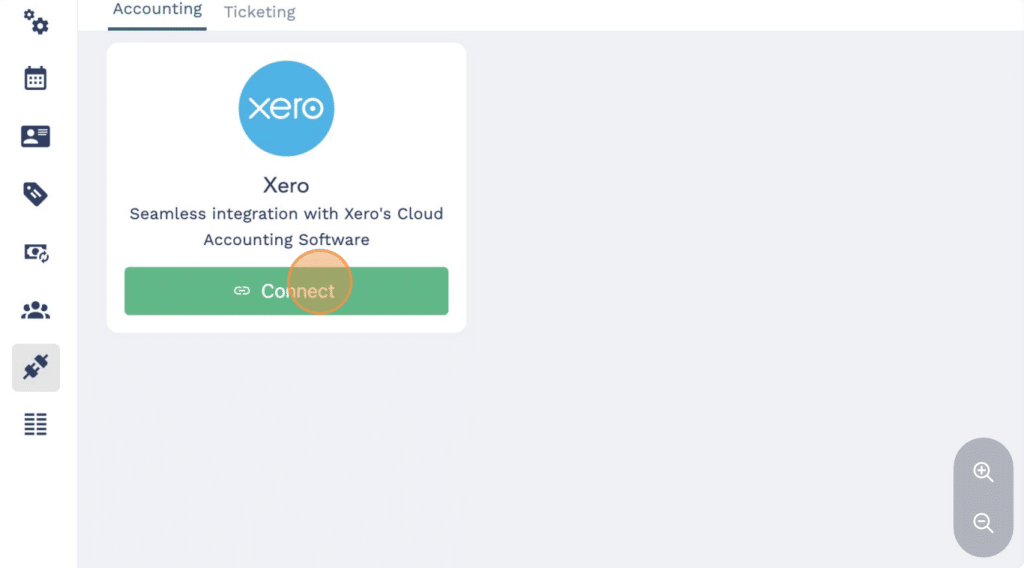
3. Initiate Connection: Find the Xero integration option and click “Connect”.
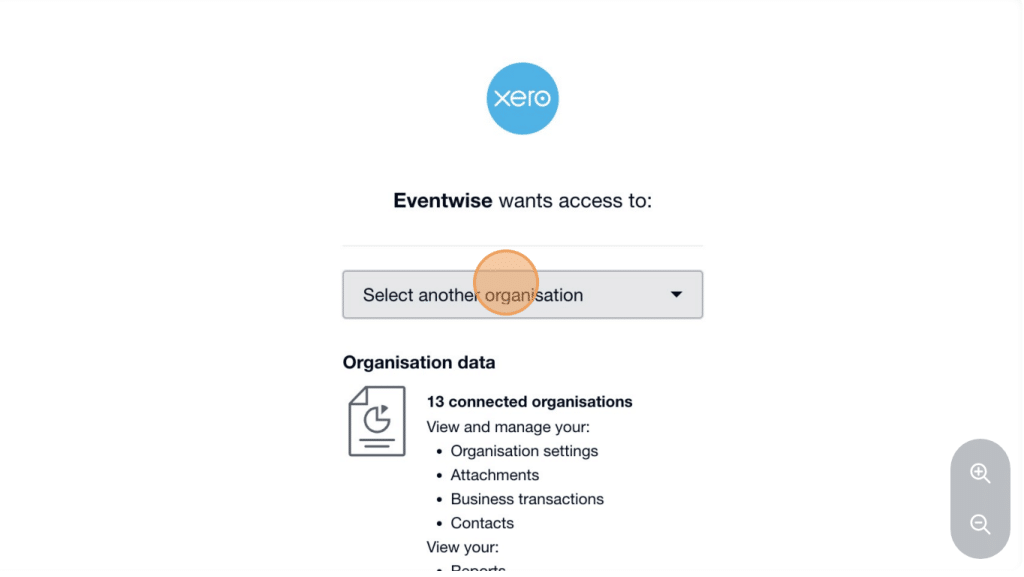
4. Authorise Access: A prompt will appear asking you to select your Xero organisation. Choose the appropriate organisation from the dropdown menu and click “Allow access” to grant Eventwise the necessary permissions.

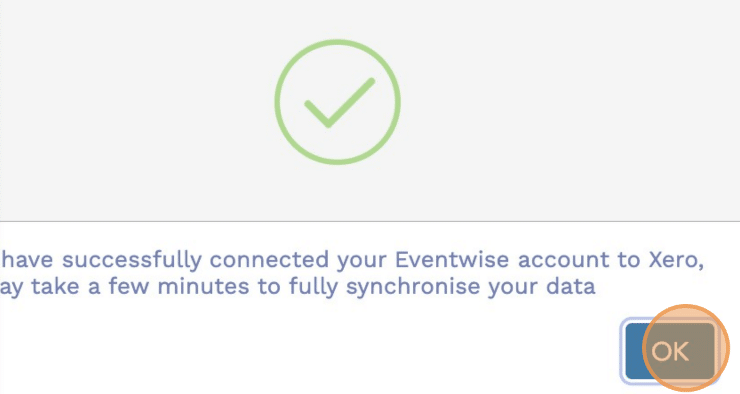
5. Confirm Integration: After granting access, click “OK” to finalise the integration process.
Once connected, Eventwise will sync your department codes with corresponding account codes in Xero, allowing for efficient financial tracking across your events.
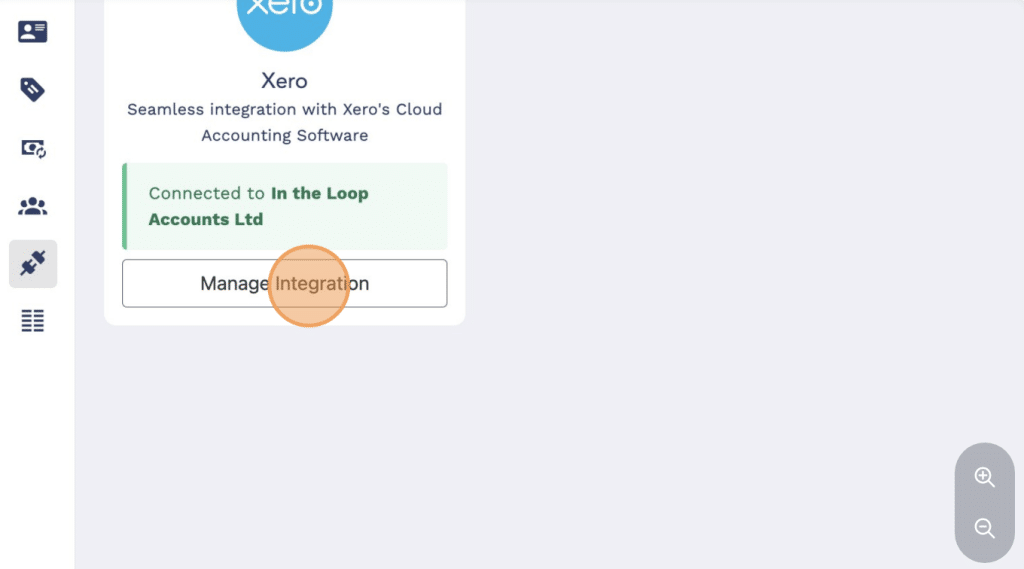
Managing your Xero Integration
1. Access Integrations: Navigate to your Eventwise account’s integrations page.
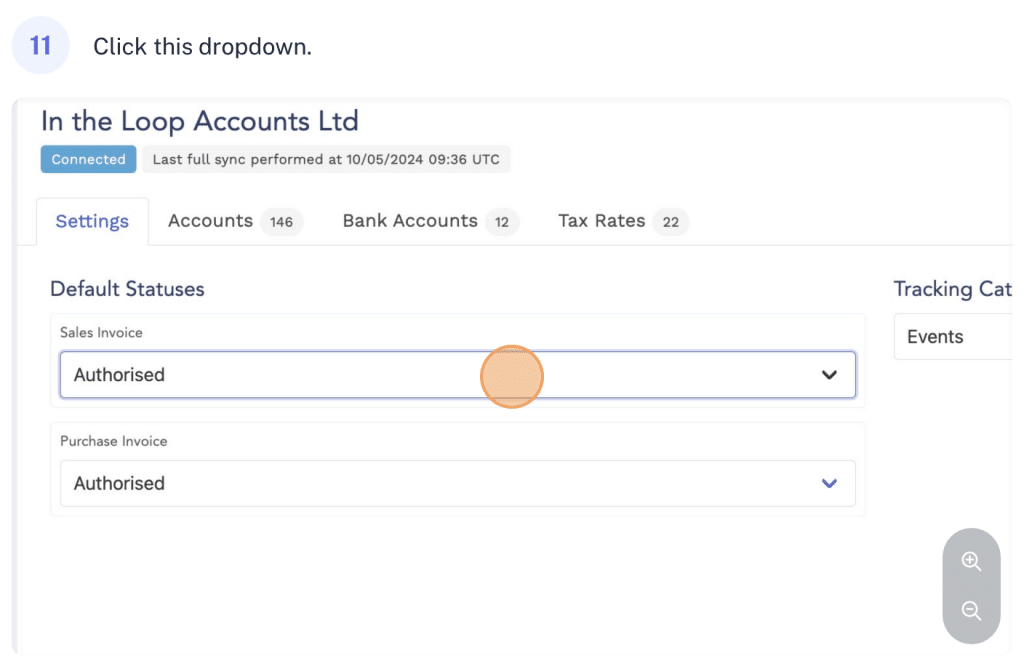
2. Manage Integration: Click on “Manage Integration” to access your Xero settings.
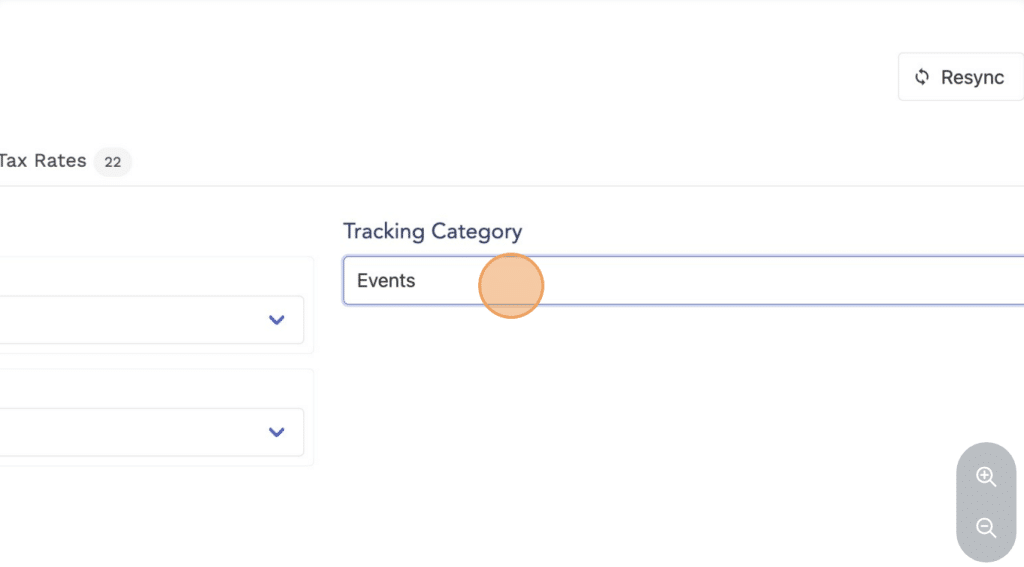
3. Set Tracking Category: Choose your desired Xero tracking category to align with your financial reporting structure.
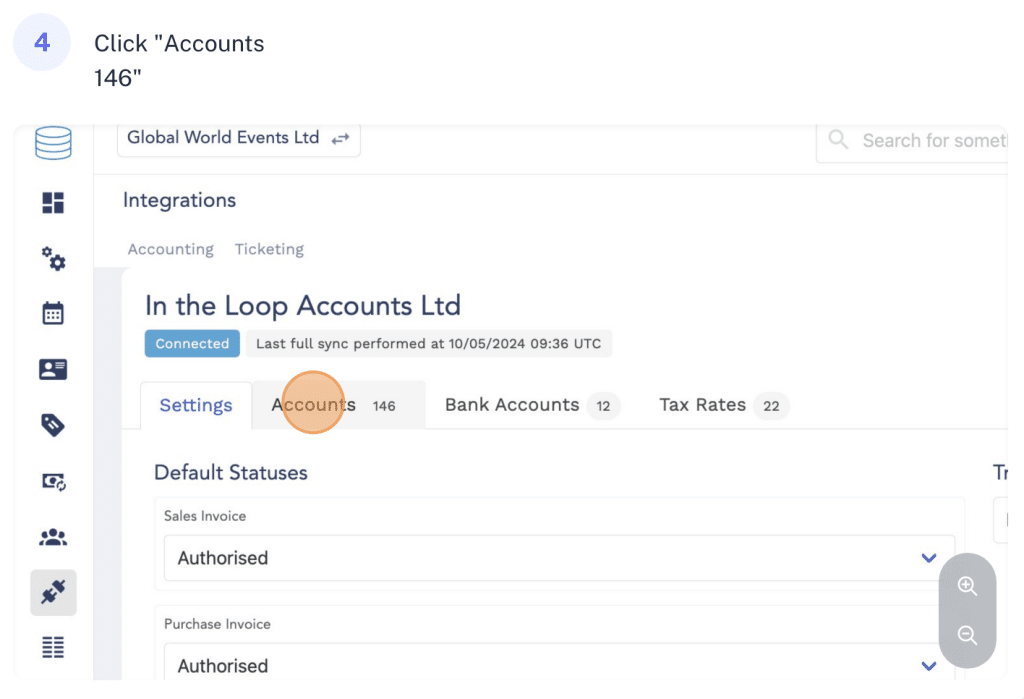
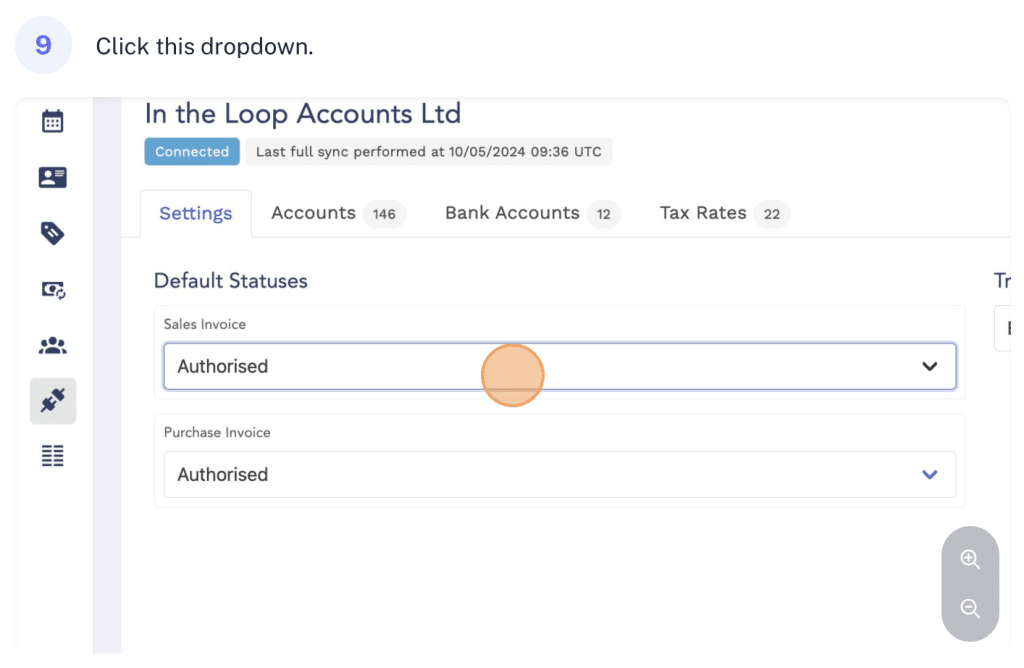
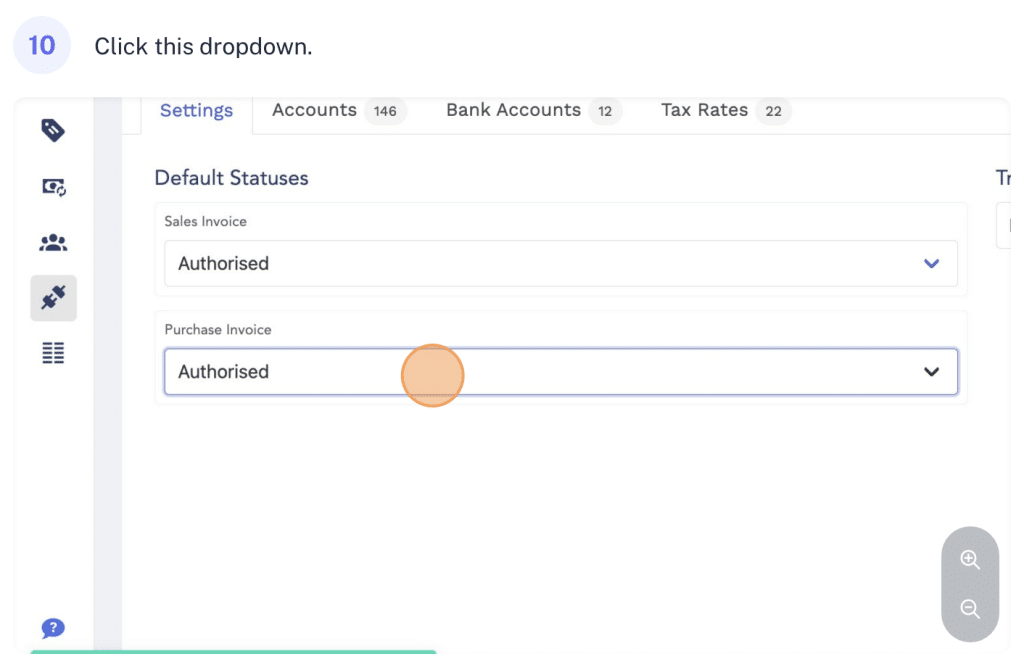
4. Configure Accounts: Select the appropriate accounts to ensure transactions are recorded correctly.
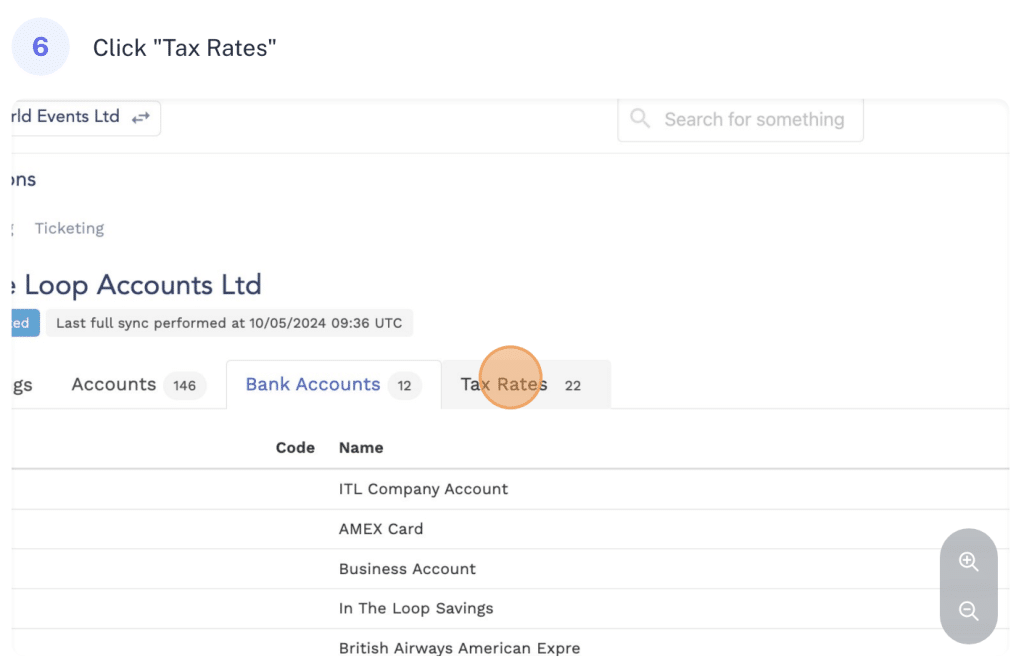
5. Adjust Tax Rates: Review and set the applicable tax rates to comply with your region’s tax regulations.
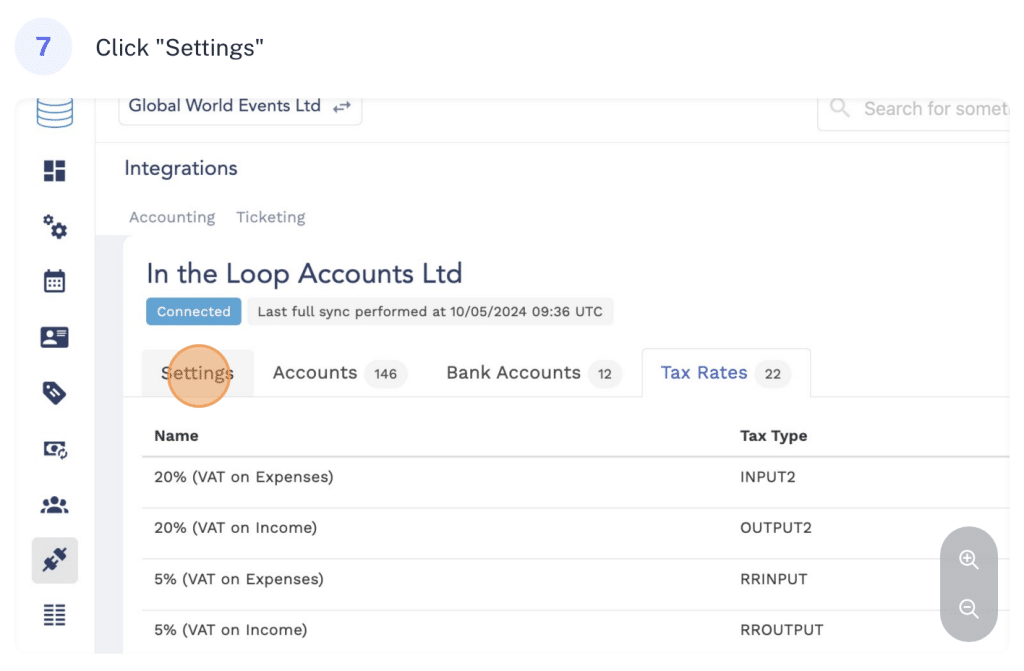
6. Access Settings: Click on “Settings” to fine-tune additional integration preferences.
7. Resync Data: Use the “Resync” option to synchronise any recent changes between Eventwise and Xero.
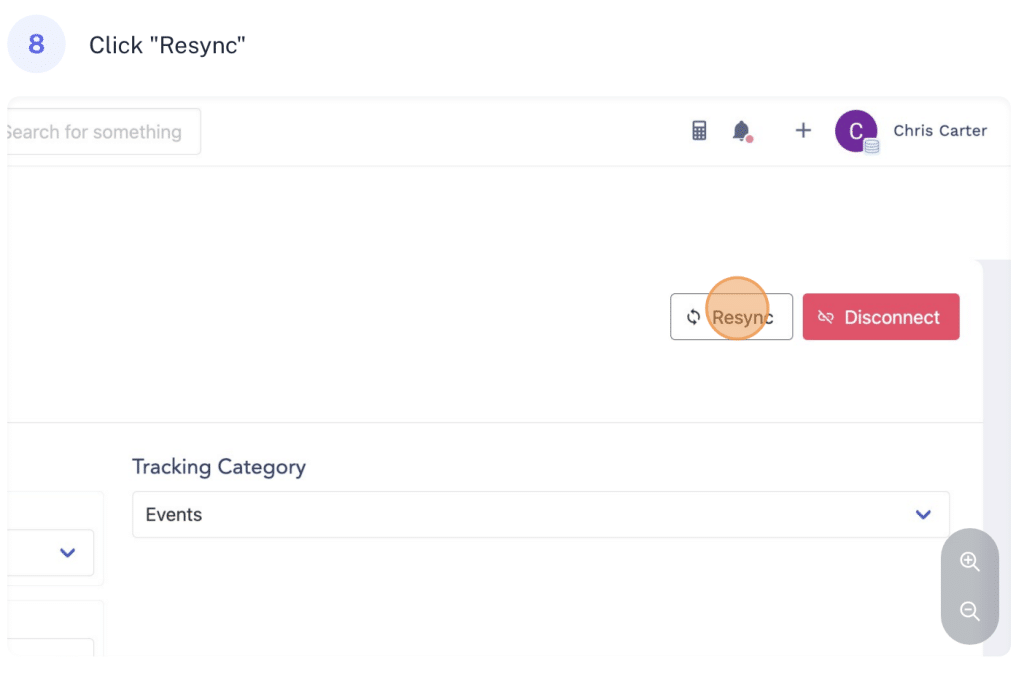
Regularly managing these settings ensures that your Eventwise and Xero accounts remain accurately synchronised, facilitating seamless financial tracking for your events.